Threading a sewing machine initially feels complex, but mastering it unlocks better stitch quality and overall machine performance.
Understanding the thread path, including thread guides, is fundamental for successful sewing, boosting confidence with each project.
Why Understanding Threading is Crucial
Understanding proper sewing machine threading is absolutely crucial for achieving high-quality stitches and preventing frustrating issues. Incorrect threading directly impacts stitch formation, leading to loops, breaks, or skipped stitches – all hindering project completion.
Specifically, navigating thread guides correctly ensures consistent thread tension. These guides aren’t merely for directing the thread; they actively contribute to even thread distribution, vital for balanced stitches.
Ignoring these guides, or misrouting the thread through them, can cause uneven tension, resulting in weak seams or puckered fabric. Mastering this foundational skill empowers you to troubleshoot problems effectively and unlock your sewing machine’s full potential, ultimately enhancing your creative output.
Tools You’ll Need for Threading
While a sewing machine is the core requirement, a few tools significantly simplify the threading process, especially when working with intricate thread guides. Small, sharp snips or scissors are essential for creating a clean thread end, facilitating easier insertion through the needle and guides.
A needle threader proves invaluable, particularly for those with visual impairments or when dealing with fine threads and small needle eyes. Though not always necessary, it streamlines navigating the thread path and guides.
Beyond these, good lighting is crucial for clearly seeing the thread guides and ensuring correct thread placement. Having the machine’s manual readily available, displaying a threading diagram, is also highly recommended.
Threading the Upper Thread
Successfully threading the upper thread requires carefully following the machine’s designated thread path, utilizing all thread guides correctly.
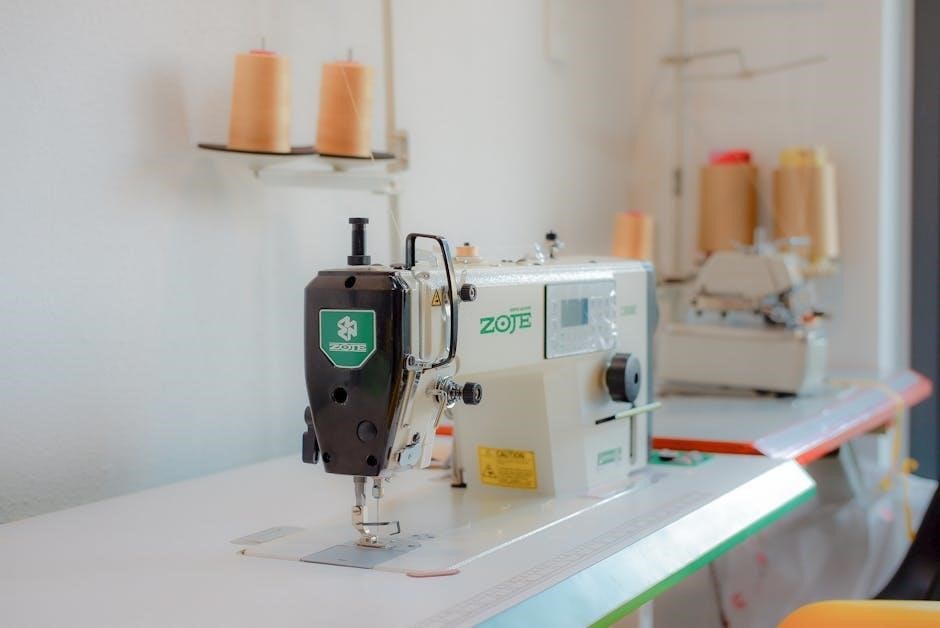
Preparing the Spool and Thread Path
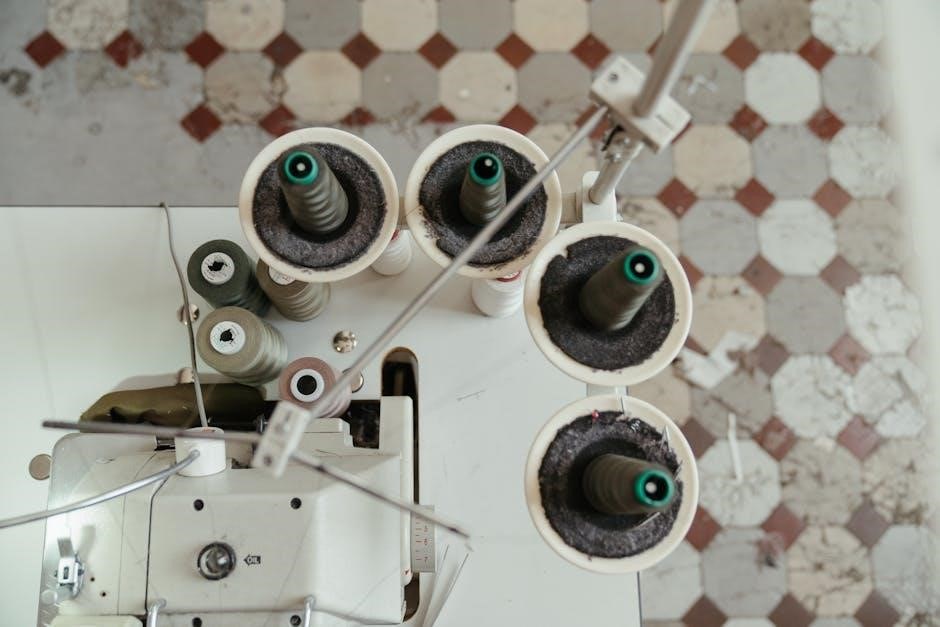
Preparing the spool and understanding the thread path are crucial first steps. Begin by securely placing the thread spool onto the spool pin, ensuring it unwinds smoothly – a thread cap or disc often helps manage this.
Next, familiarize yourself with your machine’s thread path. This involves a series of thread guides, each designed to control thread tension and direction. These guides are typically numbered or visually indicated in your machine’s manual.
Follow the path precisely, leading the thread through each guide sequentially. Proper engagement with these guides prevents skipped stitches and ensures consistent thread delivery. Neglecting a guide can lead to significant threading issues later on, so attention to detail is key.
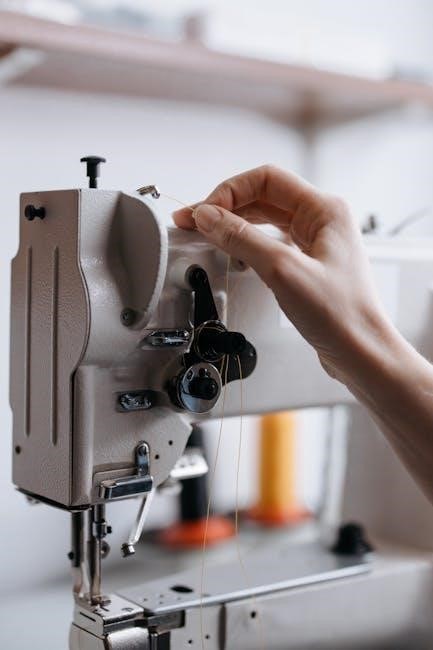
Navigating the Thread Guides
Thread guides are integral to a sewing machine’s operation, meticulously directing the thread from the spool to the needle. They aren’t simply placeholders; each guide contributes to maintaining correct thread tension, vital for balanced stitches.
These guides come in various forms – small metal loops, ceramic eyes, or even slotted discs. Always ensure the thread seats fully within each guide; a partially seated thread can cause friction, breakage, and inconsistent thread flow.
Pay close attention to the order specified in your machine’s manual. Some machines have multiple paths for different thread types or techniques. Correctly navigating these guides minimizes threading problems and maximizes stitch quality.
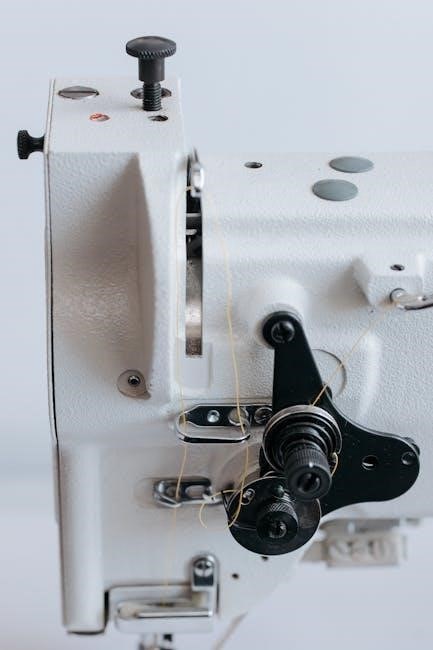
The Take-Up Lever and Tension Discs
The take-up lever and tension discs are crucial components in the thread path, working in tandem to control thread delivery to the needle. The tension discs, typically small, spring-loaded plates, regulate the thread’s pull, preventing looping or puckering of the fabric.
The take-up lever, moving up and down with the machine’s operation, pulls thread from the spool and feeds it to the needle, ensuring consistent thread length with each stitch. Proper threading through both is essential.
Ensure the thread slips between the tension discs, not over them, and that it’s correctly positioned in the take-up lever’s hook. Incorrect placement leads to uneven stitches and potential thread breakage.
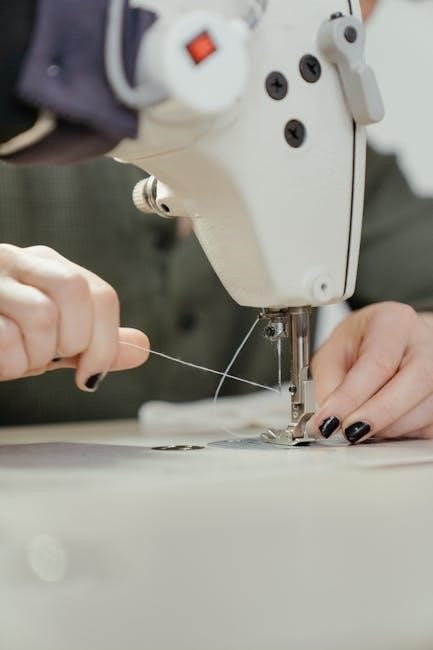
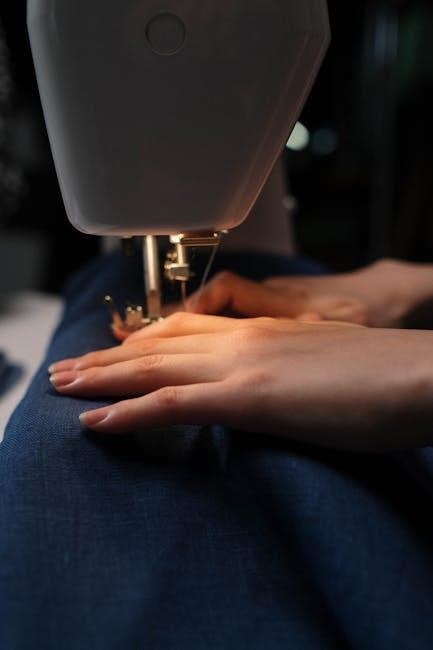
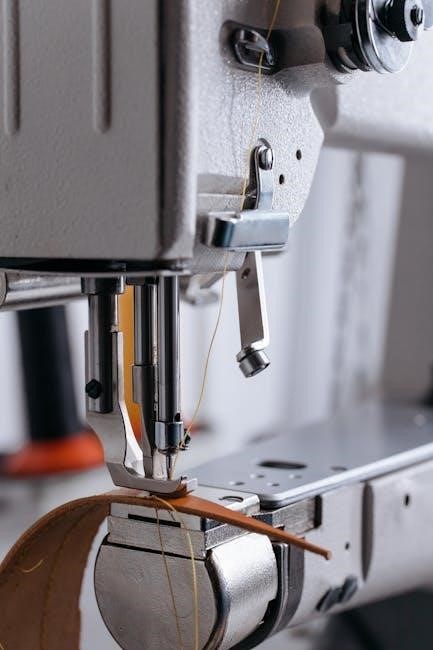
Threading the Needle
After navigating the thread guides, take-up lever, and tension discs, the final step is threading the needle. Many modern sewing machines feature built-in needle threaders, simplifying this process significantly. However, manual threading remains a valuable skill.
Cut the thread end at a sharp angle for easier insertion. Align the thread with the needle’s eye and gently push it through – a needle threader can be invaluable here. Ensure sufficient thread extends through the eye, typically a few inches.
Double-check that the thread is fully seated within the needle’s eye to prevent it from slipping during sewing, causing breaks and frustrating interruptions.
Threading the Bobbin
Proper bobbin threading, guided by your machine’s specific thread path, is essential for balanced stitches and a beautifully finished seam.
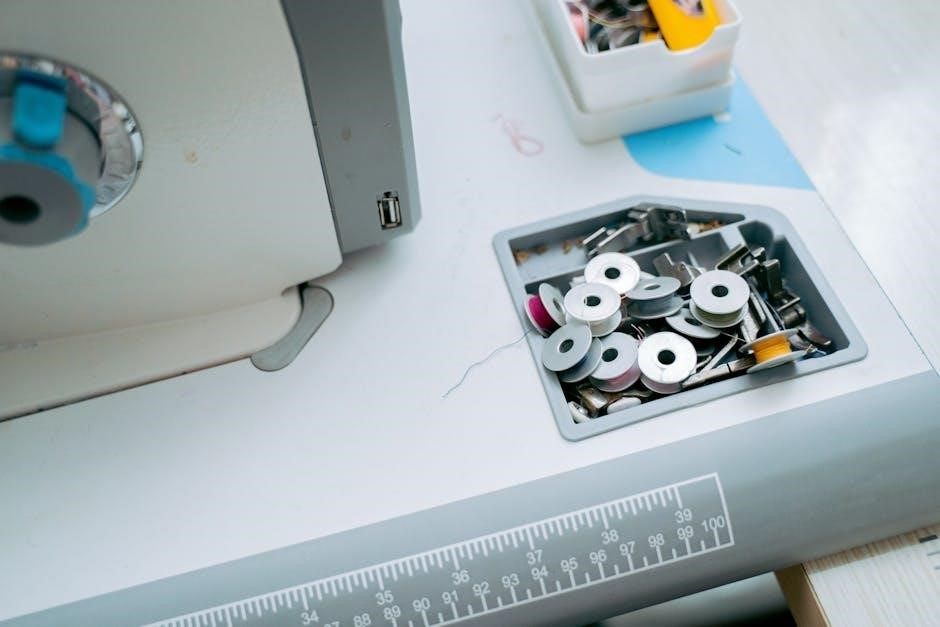
Winding the Bobbin
Bobbin winding begins by placing the thread spool on the spool pin, ensuring it rotates freely. Next, guide the thread through the designated thread guides – often small metal loops or discs – leading towards the bobbin winder tension disc.
These guides ensure even thread distribution onto the bobbin. Secure the thread end through the bobbin’s central hole, then engage the bobbin winder mechanism.
Press the foot pedal gently to start winding; most machines automatically stop when full. Consistent thread flow, facilitated by correct thread guiding, prevents uneven winding and potential jams. Always refer to your machine’s manual for specific thread path illustrations, as variations exist between models.
Inserting the Bobbin
After winding, the bobbin must be correctly inserted. Depending on your machine, this involves either a front-loading or top-loading bobbin system. For front-loading, open the bobbin case and insert the bobbin, ensuring the thread unwinds in the correct direction – usually clockwise – following the thread guides marked on the machine.
Draw the thread through the tension spring within the bobbin case. For top-loading, drop the bobbin into the designated holder, again observing the correct rotation. Guide the thread through the thread path, often including a small slit or guide, before continuing with upper threading.
Proper bobbin insertion and thread guiding are vital for balanced stitch formation.

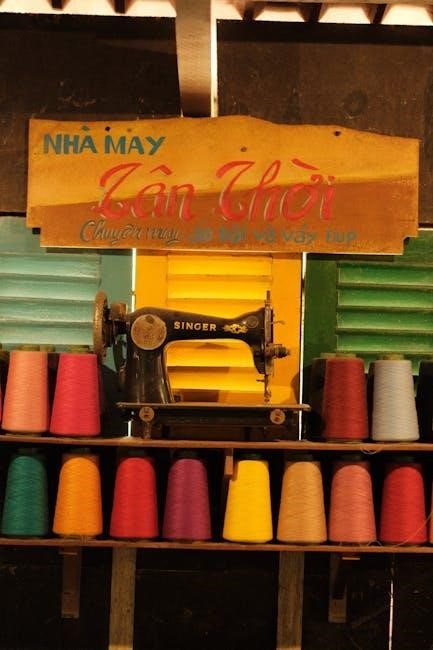
Specific Machine Brands ─ Singer
Singer sewing machines feature uniquely positioned thread guides; carefully follow the numbered diagrams in your machine’s manual for optimal threading.
Singer Threading Variations
Singer sewing machines, while generally following a similar threading principle, exhibit variations across models. The placement of thread guides differs significantly. Older, mechanical Singer models often have a more direct thread path with fewer guides, relying heavily on tension adjustments.
Conversely, newer computerized Singer machines incorporate more thread guides to ensure consistent thread delivery and optimized stitch formation. These guides are crucial for navigating the internal thread path, preventing skipped stitches and uneven sewing. Always consult your specific Singer model’s manual for a detailed diagram illustrating the correct thread path and guide locations. Ignoring these variations can lead to frustrating threading errors and poor stitch quality.
Troubleshooting Common Singer Threading Issues
If experiencing threading problems with your Singer machine, verify the thread is correctly seated in each thread guide. A common issue is the thread popping out of a guide, especially during faster sewing. Ensure the thread smoothly flows through each guide without resistance or kinks.
Skipped stitches often stem from improperly threaded guides or incorrect tension. Re-thread the entire machine, paying close attention to each guide’s position. If the thread repeatedly jumps a guide, inspect the guide itself for damage or obstructions. A damaged guide may need replacement. Regularly cleaning around the thread guides prevents lint buildup, which can also cause threading issues.
Specific Machine Brands ⸺ Brother
Brother sewing machines utilize clearly marked thread guides; ensuring correct thread placement through each guide is vital for optimal performance.
Brother Threading Variations
Brother sewing machines, while generally consistent in their threading process, exhibit slight variations across different models. A key aspect is the thread guide placement; some models feature more guides than others, particularly in computerized versions.
Always consult your specific Brother machine’s manual for the precise thread path. Pay close attention to the numbered diagrams illustrating the correct sequence through each thread guide. Incorrect threading, even by a single guide, can lead to tension issues and poor stitch formation.
Newer Brother models often include automatic needle threaders, simplifying the final step. However, proper initial threading through all guides remains crucial for the auto-threader to function correctly. Understanding these nuances ensures a smooth sewing experience.
Troubleshooting Common Brother Threading Issues
If experiencing threading problems with your Brother sewing machine, verify the thread is correctly seated in each thread guide. A common issue is the thread popping out of a guide, causing tension imbalances.
Check that the thread isn’t snagging on any guide edges or becoming twisted as it passes through. Ensure the presser foot is raised during threading, as this opens the tension discs, allowing the thread to seat properly.
If the thread breaks consistently, re-thread the entire machine, paying close attention to each guide. A wrongly positioned thread can cause excessive friction. Finally, confirm you’re using the correct type and weight of thread for your fabric and needle size.
Common Threading Problems and Solutions
Thread frequently jumps from guides, causing tension issues and poor stitch formation; ensure proper seating and a smooth thread path.
Broken Thread Issues
Thread breakage often stems from improper threading, particularly around thread guides. A sharp edge on a guide, or thread forced through a guide at an incorrect angle, can weaken and snap the thread.
Inspect each thread guide for nicks or burrs; replace damaged guides immediately. Ensure the thread flows smoothly through each guide without resistance or abrupt bends. Incorrect threading order, skipping a guide, or using old, brittle thread also contributes to breakage.
Verify the thread spool is correctly positioned, allowing free unwinding. Tighten the thread spool pin if needed. Regularly clean the thread path, removing lint and dust that can abrade the thread as it passes through the guides.
Skipped Stitch Problems
Skipped stitches frequently indicate issues with the thread path, and improperly positioned thread guides play a significant role. If the thread isn’t correctly seated within a guide, the loop formation can be disrupted, leading to missed stitches.
Confirm the thread is fully engaged in each guide along the entire path, from spool to needle. Check that no guides are clogged with lint or debris, hindering smooth thread flow. A misaligned guide can also cause inconsistent thread tension.
Ensure the thread isn’t being pulled or snagged by a guide. Inspect for any damage to the guides themselves. Correct threading and clean, properly aligned guides are crucial for consistent stitch formation.
Safety Precautions When Threading
Always power off the sewing machine before threading. Keep fingers clear of the needle and thread guides during the process for safety.
Electrical Safety
Sewing machines, being electrical appliances, demand strict adherence to safety protocols. Always disconnect the machine from the power source before attempting any threading, cleaning, or maintenance. This prevents accidental activation during close work near moving parts, including the thread guides.
Never operate a machine with a damaged cord or plug. Inspect the cord regularly for fraying or damage. Avoid using extension cords if possible; if necessary, ensure it’s appropriately rated for the machine’s power requirements.
Keep the machine dry and away from water sources. Electrical shock hazards are severe. If the machine malfunctions, do not attempt self-repair; consult a qualified technician. Prioritizing electrical safety ensures a secure and enjoyable sewing experience.
Needle Safety
The sewing machine needle presents a significant safety concern. Always ensure the power is off before changing or threading a needle. Needles are extremely sharp and can cause serious injury. When threading, use caution and adequate lighting to clearly see the needle’s eye – avoid forcing the thread.
Never sew over pins or thick fabric layers, as this can bend or break the needle. A broken needle can shatter, posing a projectile hazard. Dispose of broken needles safely in a designated sharps container. Regularly inspect the needle for damage, such as bending or dullness, and replace it promptly.
Proper needle selection for the fabric type is crucial for both stitch quality and safety. A damaged or incorrect needle increases the risk of breakage and injury.
Be First to Comment